Introduction
The STEP Workbench Launcher is a part of the STEP baseline for 9.1 (and newer) systems. If your STEP system has a lower version, then it requires two add-on components to be installed:
-
'java'
-
'workbench-launcher'
This guide has been created to help you configure the STEP Workbench Launcher on your own environment.
Workbench Launchers
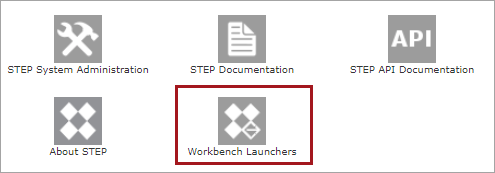
A one-time install of the STEP Workbench Launcher prior to launching STEP Workbench is required after installing 9.1 or the add-on components. Stibo Systems recommends that the installation of the STEP Workbench Launcher is carried out by the administrator of the workstation, without involvement of the user. If this has not been done and the user has sufficient privileges, then manual installation can be done instead.
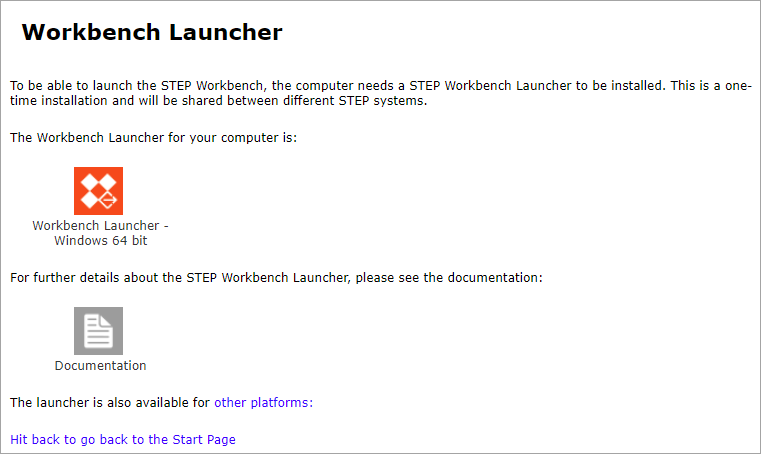
The installer applicable to the current workstation will be shown first. Downloading the installer for other platforms is possible by clicking the "other platforms" link.
|
Note
|
Linux is not supported by Stibo Systems and is therefore not shown as an option. If this impacts you, reach out to Stibo Systems Technical Support for guidance. |
An executable file is generated. Click on the .exe file once it is fully downloaded.

Manual Installation
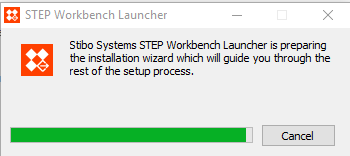
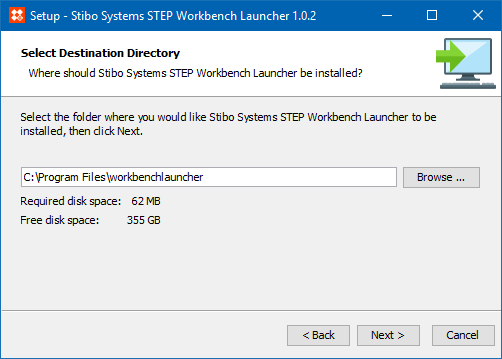
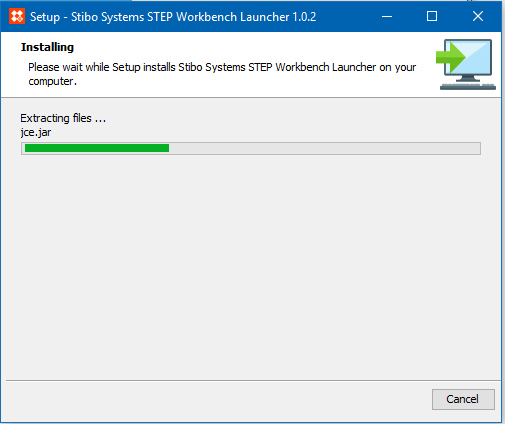
Once initialized, the launcher will open a wizard, and users should follow the step-by-step instructions. Click 'Next' (to continue through the wizard) or 'Cancel' to stop the installation process.

Some Setup wizard dialogs require information. For example, if you want to change the directory where the STEP Workbench Launcher will be installed, you will enter the info before clicking 'Next'.
The 'Associate STEPWRB files with this application (*.stepwrb)' option (not shown) is enabled by default and should remain enabled. This file association lets your client workstation know that you always want to open STEP Workbench instances with the STEP Workbench Launcher application. Otherwise, you will be requested to select the application each time you access workbench.
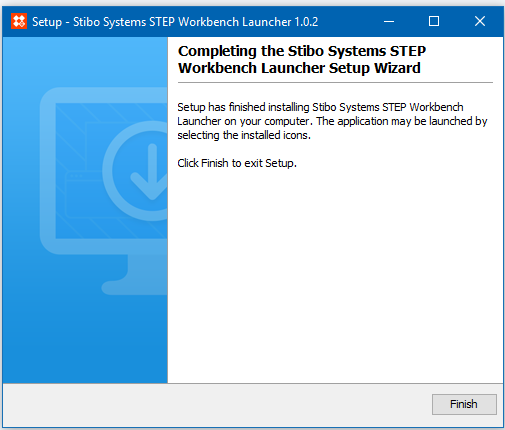
Launching workbench after the installation by typical means should work as expected.
More Information
Users can access a set of Frequently Asked Questions (FAQs) in regards to the information outlined above by logging into the customer portal (JIRA). Additionally, users will be able to read more about the Java Runtime Environment used for STEP and the substantiation behind these changes.
Server configuration
Below you will find a list of configuration properties you can use to reconfigure the behavior of the Workbench Launcher. To apply these configuration changes you need to modify the configuration files on the server. Please remember that restart of the server is required to reload the configuration.
Server properties
| Property | Description |
|---|---|
|
Warning: Support for legacy web start will be removed in
STEP 9.2 and the upgrade to Java 11. Set this to |
|
Warning: Support for the legacy java Web Start will be removed
in STEP 9.2 and the upgrade to Java 11.
Set this to |
|
Set this to |
|
Set this to |
|
Warning: Support for 32-bit architecture will be removed in a future release. Set this to true if the STEP Workbench Launcher for Windows 32-bit should be available. It’s up to customer IT department to decide whether 32-bit Windows architecture should be supported. |
Remember also that you can list available properties using the spot command.
STEP Workbench Launcher configuration
All the STEP Workbench Launcher configuration properties should be set in the workbenchlauncher.vmoptions file.
It can be found in the following file:
${HOME}/.step/workbenchlauncher/workbenchlauncher.vmoptions
Where ${HOME} is the user home directory. For example on Windows machine it is:
C:\Users\test\.step\workbenchlauncher\workbenchlauncher.vmoptions
Please remember that it is not allowed to modify the original vmoptions file that is located in the STEP Workbench Launcher installation directory.
If the file does not exist in the mentioned directory you can simply create it.
Each option must be put in a separate line.
Refreshing *.stepwrb
When launching the STEP Workbench from the STEP Start Page, a stepwrb file is downloaded to the client machine. The
filetype is associated with the STEP Workbench Launcher and will automatically start this application.
By default the STEP Workbench Launcher will always refresh the stepwrb file while starting the Workbench.
As the stepwrb file can contain additional configurations, the end user will always work on the most recent one.
However, in a few cases, this refresh mechanism needs to be turned off, for example when
the Workbench SSO is enabled (to omit the token regeneration). This can be done by applying the virtual machine
option below in the workbenchlauncher.vmoptions file:
-Dstibo.step.workbench.launcher.stale=true
Configuring the logging mechanism
The STEP Workbench Launcher is creating logs for two processes:
-
STEP Workbench Launcher
-
STEP Workbench
The first one is located in the launcher_*.log files.
The second one is located in the workbench_*.log files.
The logging configuration for each process can be found in the following directory:
${HOME}/.step/workbenchlauncher/
-
launcher-logging.properties(for the STEP Workbench Launcher process) -
workbench-logging.properties(for the STEP Workbench process)
Please be aware that the two properties handlers and java.util.logging.FileHandler.pattern mustn’t be changed.
Otherwise the system won’t be able to generate valid incident reports.
Certificates not signed by global CA
By default the STEP Workbench Launcher does not support certificates that are not signed by a global CA. However, it is still possible for Windows or MacOS environments to add such certificates to system trusted global certificates. The STEP Workbench Launcher is not supporting trusted certificates through the web browser. In case your certificate is not trusted by the system and there is no option to add it, you can personalize the STEP Workbench Launcher to work properly with self-signed certificates. To do so you need to define the virtual machine option providing the path to a custom java trust store containing the STEP server certificate. Remember that by default only JKS are supported as valid trust stores (to use different trust store types please refer to java documentation):
-Djavax.net.ssl.trustStore=<path_to_truststore>
The above virtual machine option must be defined inside the workbenchlauncher.vmoptions.
Please remember that when this option is set, the STEP Workbench Launcher will no longer discover
system trusted certificates.
Proxy configuration
By default the STEP Workbench Launcher uses proxy definition discovered from user operating system. If usage of manual proxy or proxy configuration scripts is required additional configuration need to be done.
There are three possible options. They exclude each other which means that defining all options will result in using the one with highest priority. The proxy configurations are processed in the following order (higher position on list means higher priority):
-
Proxy configuration scripts
-
Manual proxy
-
Auto-discovery proxy This for example means that if only "Proxy configuration scripts" has been defined, rest of the configuration will be omitted.
Auto-discovery
First one is to use proxy auto-discovery mechanism. The proxy will be discovered from system configuration.
Please remember that proxy won’t be obtained from Mozilla Firefox browser as this software is using independent
configuration. Auto-discovery mechanism is enabled by default. It can be disabled with the following option
which need to be applied to the virtual machine in the workbenchlauncher.vmoptions file:
-Dstibo.step.workbench.proxy.autodiscovery=false
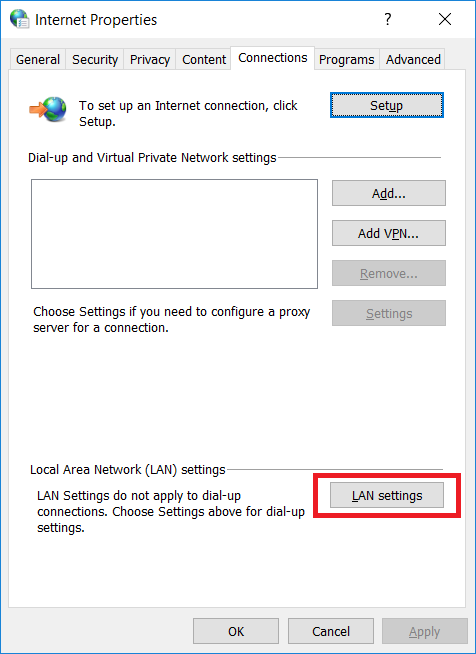
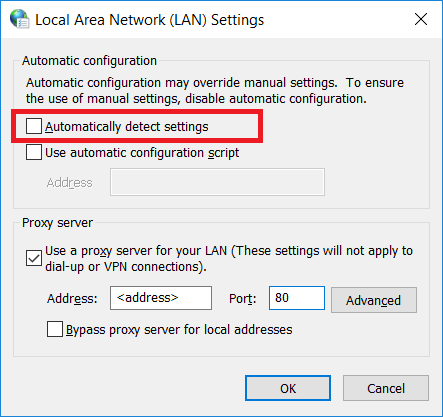
To define the proxy url, for example on Windows you can use the browser settings. In the Edge browser the configuration looks like (remember to uncheck the option "Automatically detect settings"):

In the Chrome browser the configuration looks like (remember to uncheck the option "Automatically detect settings" as well):
Manual proxy
Second option is to define the proxy manually in the workbenchlauncher.vmoptions file. Please refer to Oracle documentation
for available settings (provided link refers to java 11 version, for older versions of java the address need to be
obtained from Oracle home page):
Example configuration for http proxy may look like:
-Dhttp.proxyHost=<host>
-Dhttp.proxyPort=<port>
Example configuration for https proxy may look like:
-Dhttps.proxyHost=<host>
-Dhttps.proxyPort=<port>
Example configuration for socks proxy may look like:
-DsocksProxyHost=<host>
-DsocksProxyPort=<port>
Proxy configuration scripts
STEP Workbench Launcher also allows for PAC file usage. In order to use additional option need to
be applied to the virtual machine in the workbenchlauncher.vmoptions file:
-Dstibo.step.workbench.proxy.pac.url=<url_to_pac_file>
Where PAC file url need to be a valid path to the Proxy configuration script (either available on local disk or as a resource on server).